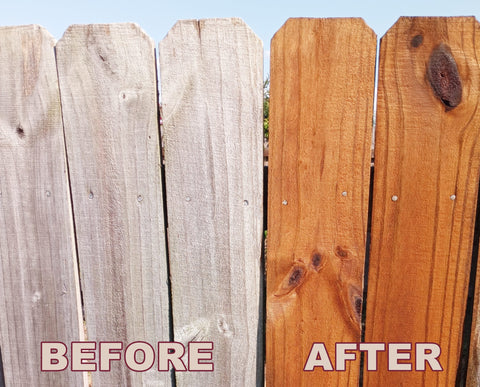
Are you looking to enhance the beauty and longevity of your wooden fence? Fence staining is a fantastic solution that not only protects the wood from the elements but also adds a touch of elegance to your outdoor space. In this comprehensive guide, we will walk you through the step-by-step process of achieving a perfect fence staining project. From preparation to product selection and application techniques, we will cover it all. Get ready to transform your fence into a stunning centerpiece that will stand the test of time!
Step 1: Assessing the Fence
Begin by assessing the condition of your fence. Look for any signs of damage, such as cracks, splintering, or rot. Address these issues before proceeding with the staining process. Repair or replace damaged boards to ensure a solid foundation for the stain.
Additionally, it’s essential to ensure that your fence has properly seasoned. It's important to note that you cannot stain a newly installed fence right away. The wood needs time to acclimate and reach an optimal moisture level before staining. Typically, it is recommended to wait at least 3-4 weeks, or even up to 3 months, depending on the type of wood and the weather conditions in your area. This seasoning period allows the wood to stabilize and dry out, reducing the risk of moisture-related issues and promoting better stain absorption.
During the seasoning period, it's important to protect your fence from excessive moisture, such as heavy rains or sprinkler systems. You can cover the fence with tarps or use water repellent products to shield it from the elements. Taking these precautions will ensure that your fence is ready for the staining process, resulting in a more durable and visually appealing finish.
Once the seasoning period has passed, and your fence is adequately seasoned, you can proceed with the following steps to achieve a perfect fence staining project. Remember, patience and proper preparation are key to achieving long-lasting and beautiful results.
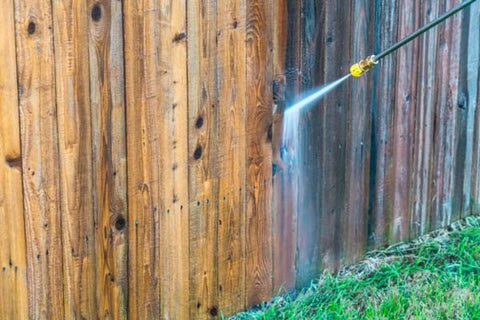
Step 2: Cleaning the Fence
Before staining, it is crucial to clean the fence thoroughly to remove dirt, debris, and any previous coatings. Use a power washer or a stiff brush along with a wood cleaner or mild detergent to scrub the surface. Rinse off the cleaner and allow the fence to dry completely before moving to the next step.
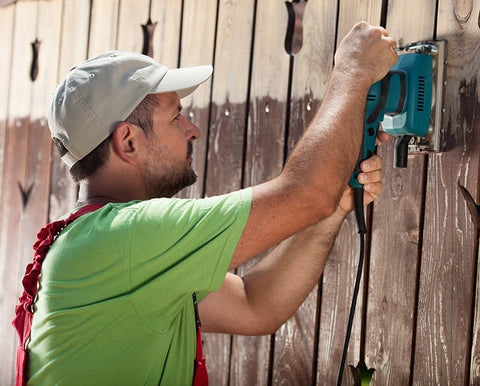
Step 3: Sanding the Surface
To achieve a smooth and even finish, sanding is essential. Use medium-grit sandpaper to gently sand the entire fence, paying extra attention to rough spots and splintered areas. This step helps open up the wood pores, allowing the stain to penetrate deeply and adhere effectively.
Step 4: Choosing the Right Stain
Selecting the right stain is crucial for achieving the desired results. Benjamin Moore offers a wide range of high-quality stain options suitable for fences. For example, the Arborcoat Exterior Stain line provides excellent durability, UV protection, and color retention. Choose a stain that complements your outdoor aesthetic and provides the level of protection required for your climate.

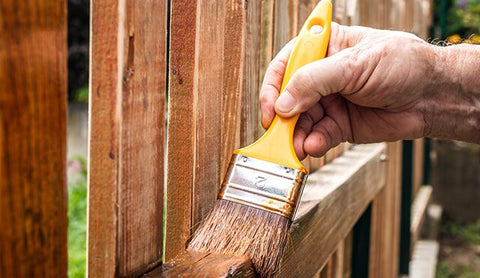
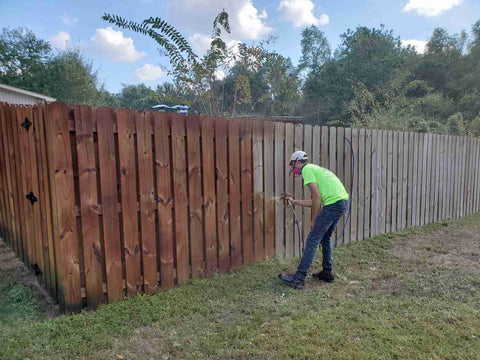
Step 5: Applying the Stain
Before applying the stain, protect nearby plants, grass, and other surfaces with plastic sheeting or drop cloths. Stir the stain thoroughly to ensure an even consistency. Using a brush, roller, or sprayer, apply a thin and even coat of stain, working from top to bottom. Benjamin Moore's Arborcoat Stain can be applied with a brush or sprayer, allowing for easy application and even coverage.
Step 6: Wiping Off Excess Stain
After applying the stain, use a clean cloth or rag to wipe off any excess stain from the surface. This step helps prevent uneven coloration and blotches. Pay close attention to corners, edges, and joints to ensure uniformity.
Step 7: Allowing for Drying and Curing
Allow the first coat of stain to dry completely according to the manufacturer's instructions. Depending on the weather conditions, this may take a day or longer. Once dry, assess if an additional coat is required for optimal color and protection. Apply subsequent coats following the same application and wiping off excess stain steps.
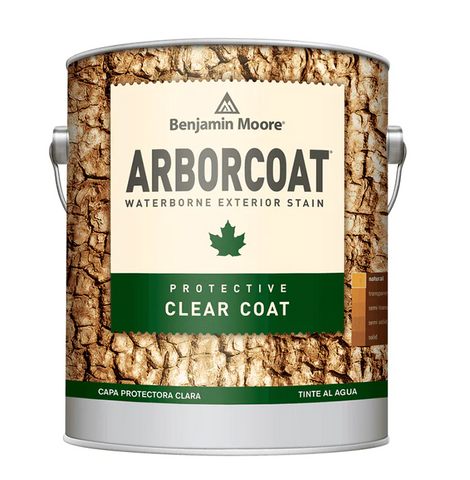
Step 8: Sealing the Fence (Optional)
For added protection and durability, consider applying a clear sealant over the stained fence. Benjamin Moore's Arborcoat Waterborne Exterior Clear Coat is an excellent choice for sealing wooden fences. It provides an extra layer of defense against moisture, UV rays, and general wear and tear.
By following this step-by-step guide, you can achieve a perfect fence staining project that enhances the beauty and longevity of your wooden fence. Benjamin Moore's Arborcoat Exterior Stain range offers exceptional products to protect and beautify your fence. Remember to assess the fence, clean and sand the surface, choose the right stain, apply it with care, wipe off excess stain, allow for drying and curing, and optionally seal the fence for added protection. Embrace the process, and enjoy the satisfaction of a beautifully stained fence that will make your outdoor space truly shine!
For all your paint staining needs and expert guidance, visit Dragon Scale Paint, Laurel’s top-rated Benjamin Moore store. Our knowledgeable staff will assist you in selecting the perfect stain and provide valuable advice to ensure your fence staining project is a resounding success. Transform your fence into a stunning masterpiece today!